Digital Pin Positioning for Safe, Stable Tooth Movement
Digital pin positioning helps us place mini-implants with absolute precision — ensuring stability, comfort, and effectiveness from the very first step.
Book Your Scan Now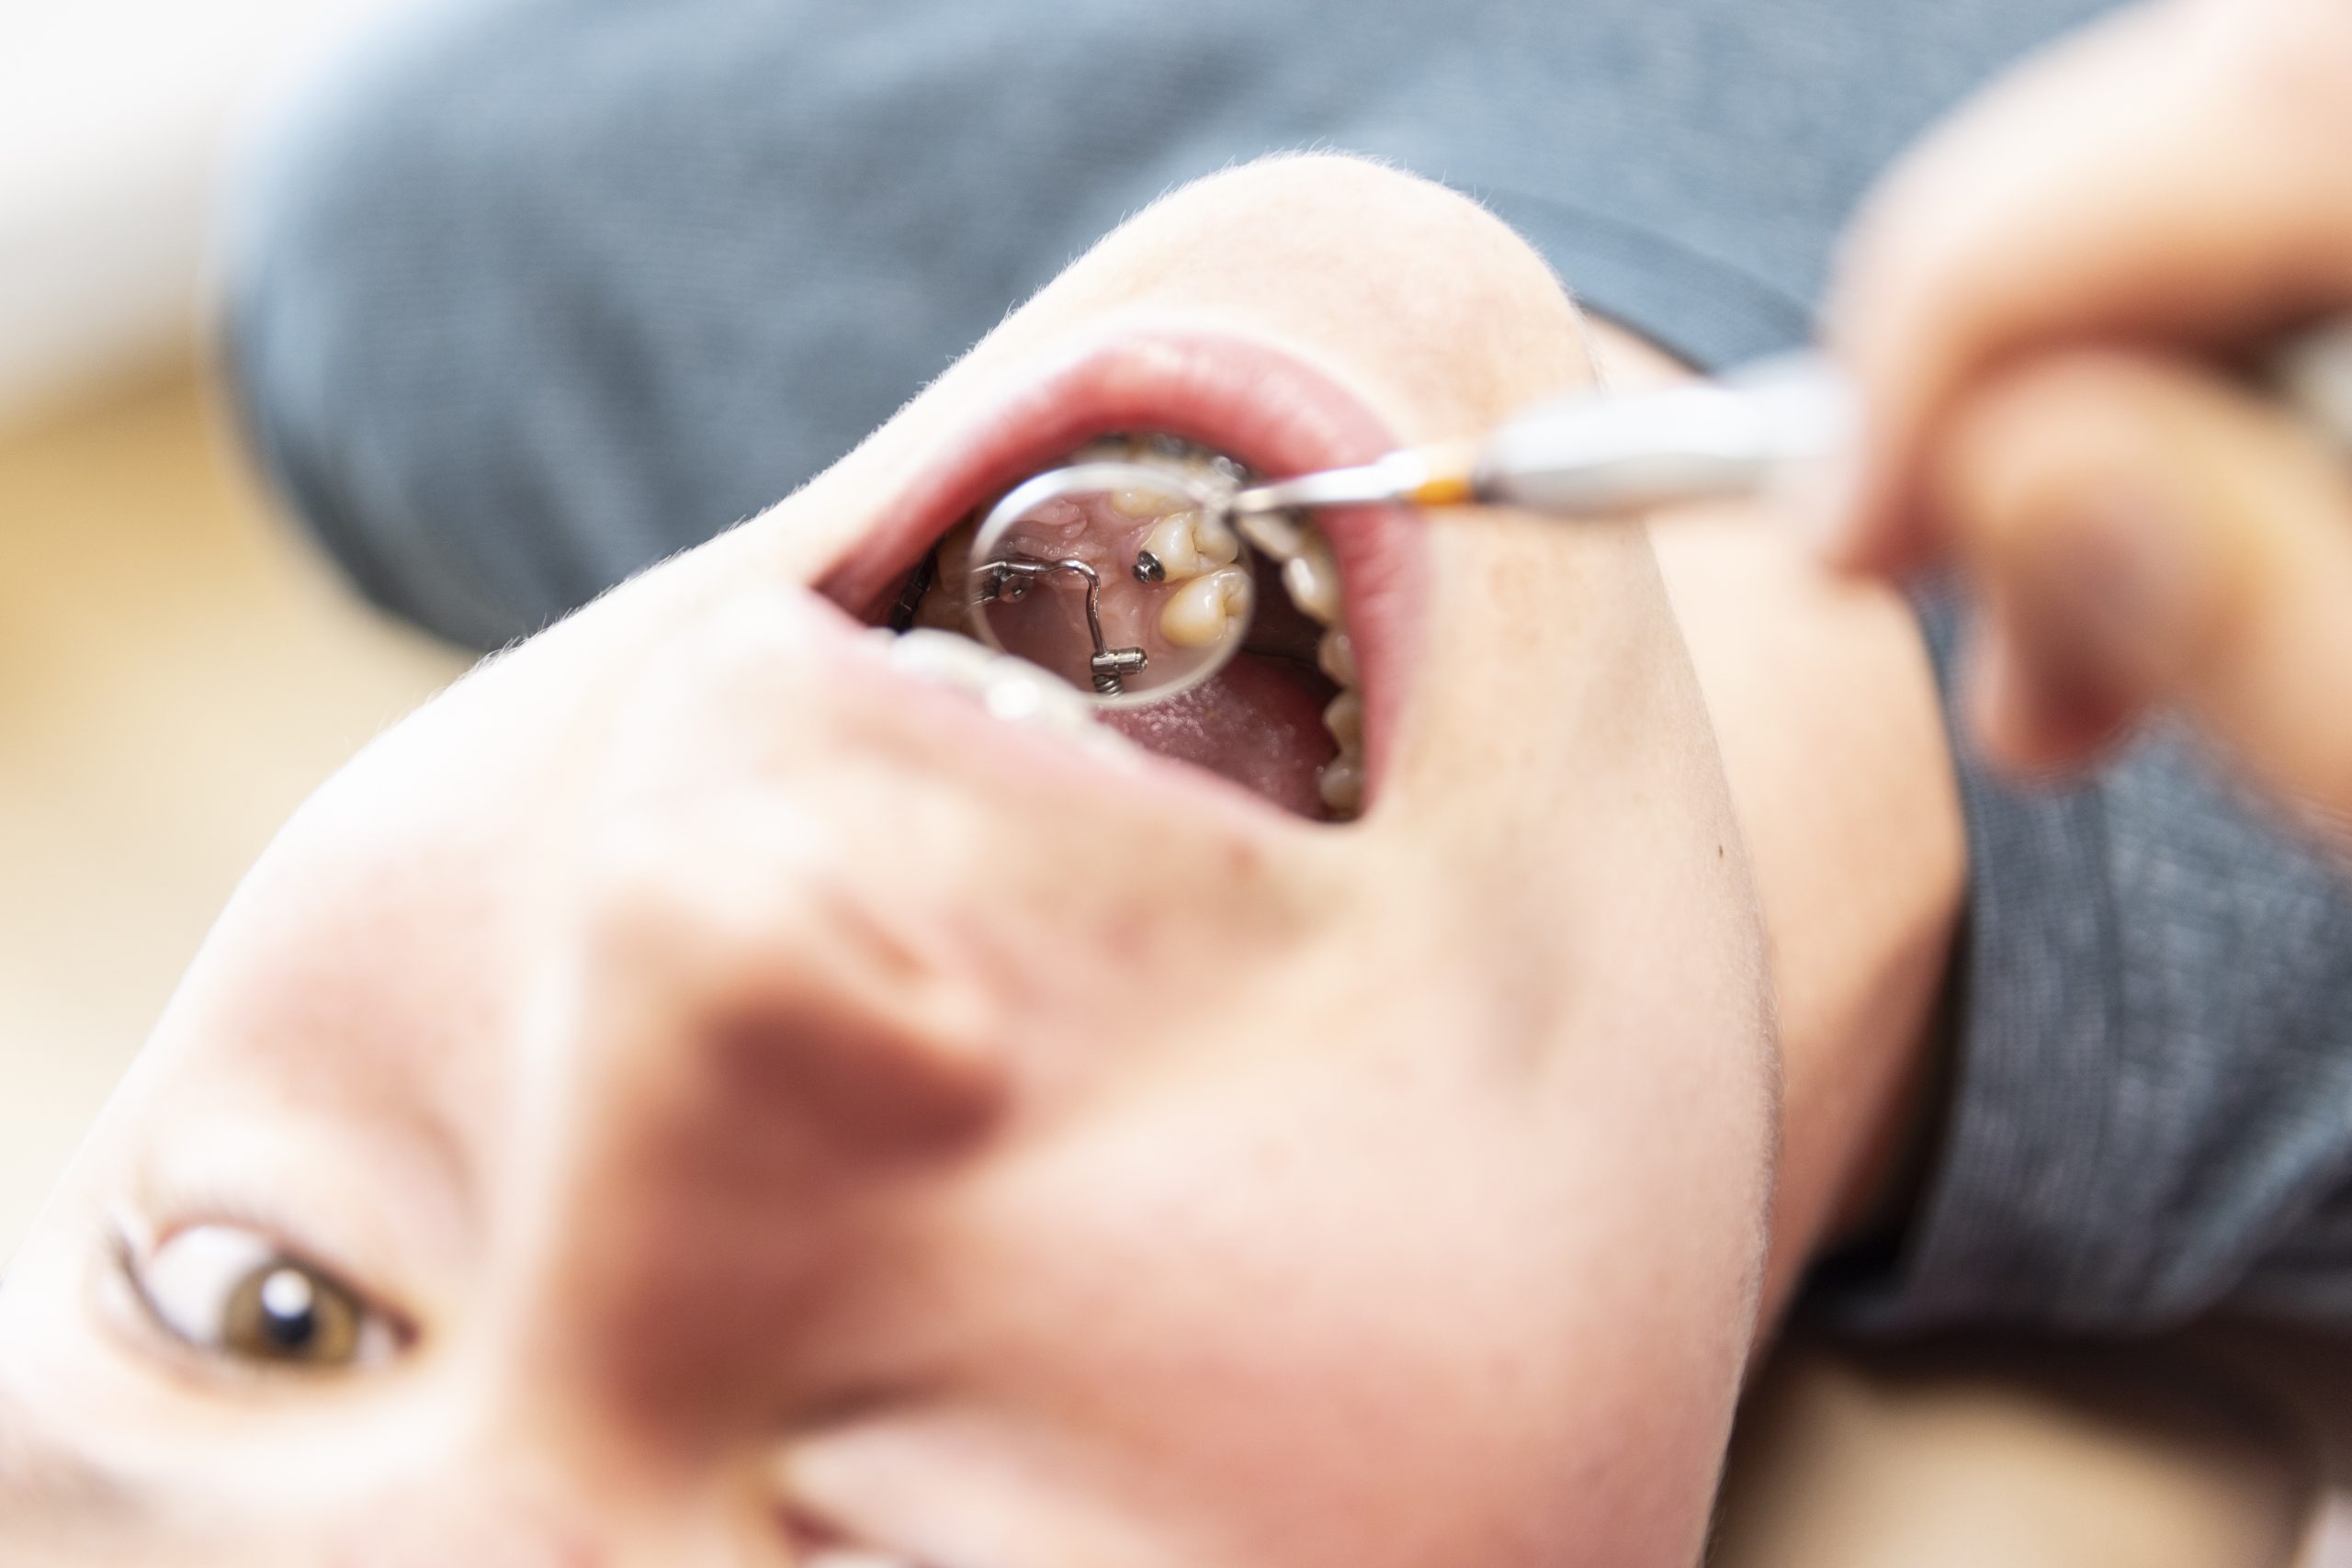
Tiny pins, big impact
Mini-pins might be small, but they play a big role in guiding complex tooth movements. We use digital tools to plan their placement for maximum effectiveness and minimal risk.
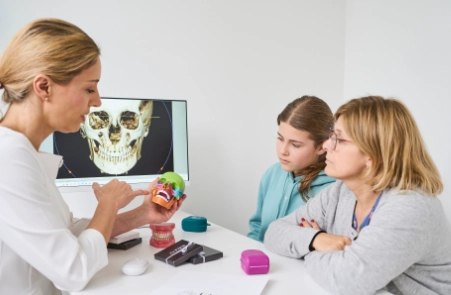
Smarter Diagnostics
The Technology Behind Your Smile
We use cutting-edge tools to track your jaw and bite in real time — helping us plan treatments that not only look great, but feel right too.
Our Features
What You Get from Precision Pin Planning
Fewer Complications
Digital placement avoids misalignment and reduces pain.
Better Appliance Fit
Pins anchor your devices — so fit and force matter.
Stronger Movement Control
We can move specific teeth with greater accuracy.
Faster Progress
With better anchorage, your treatment stays on track.
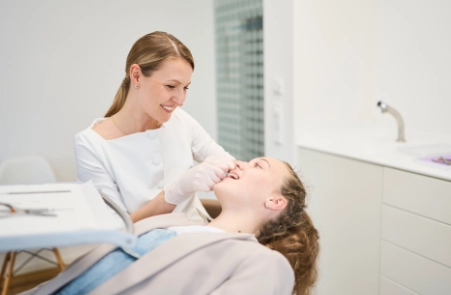
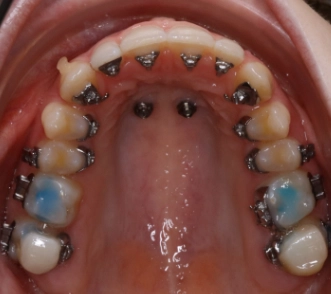
Pin placement in our Office
Pin placement done in-house — no extra appointments or coordination needed.
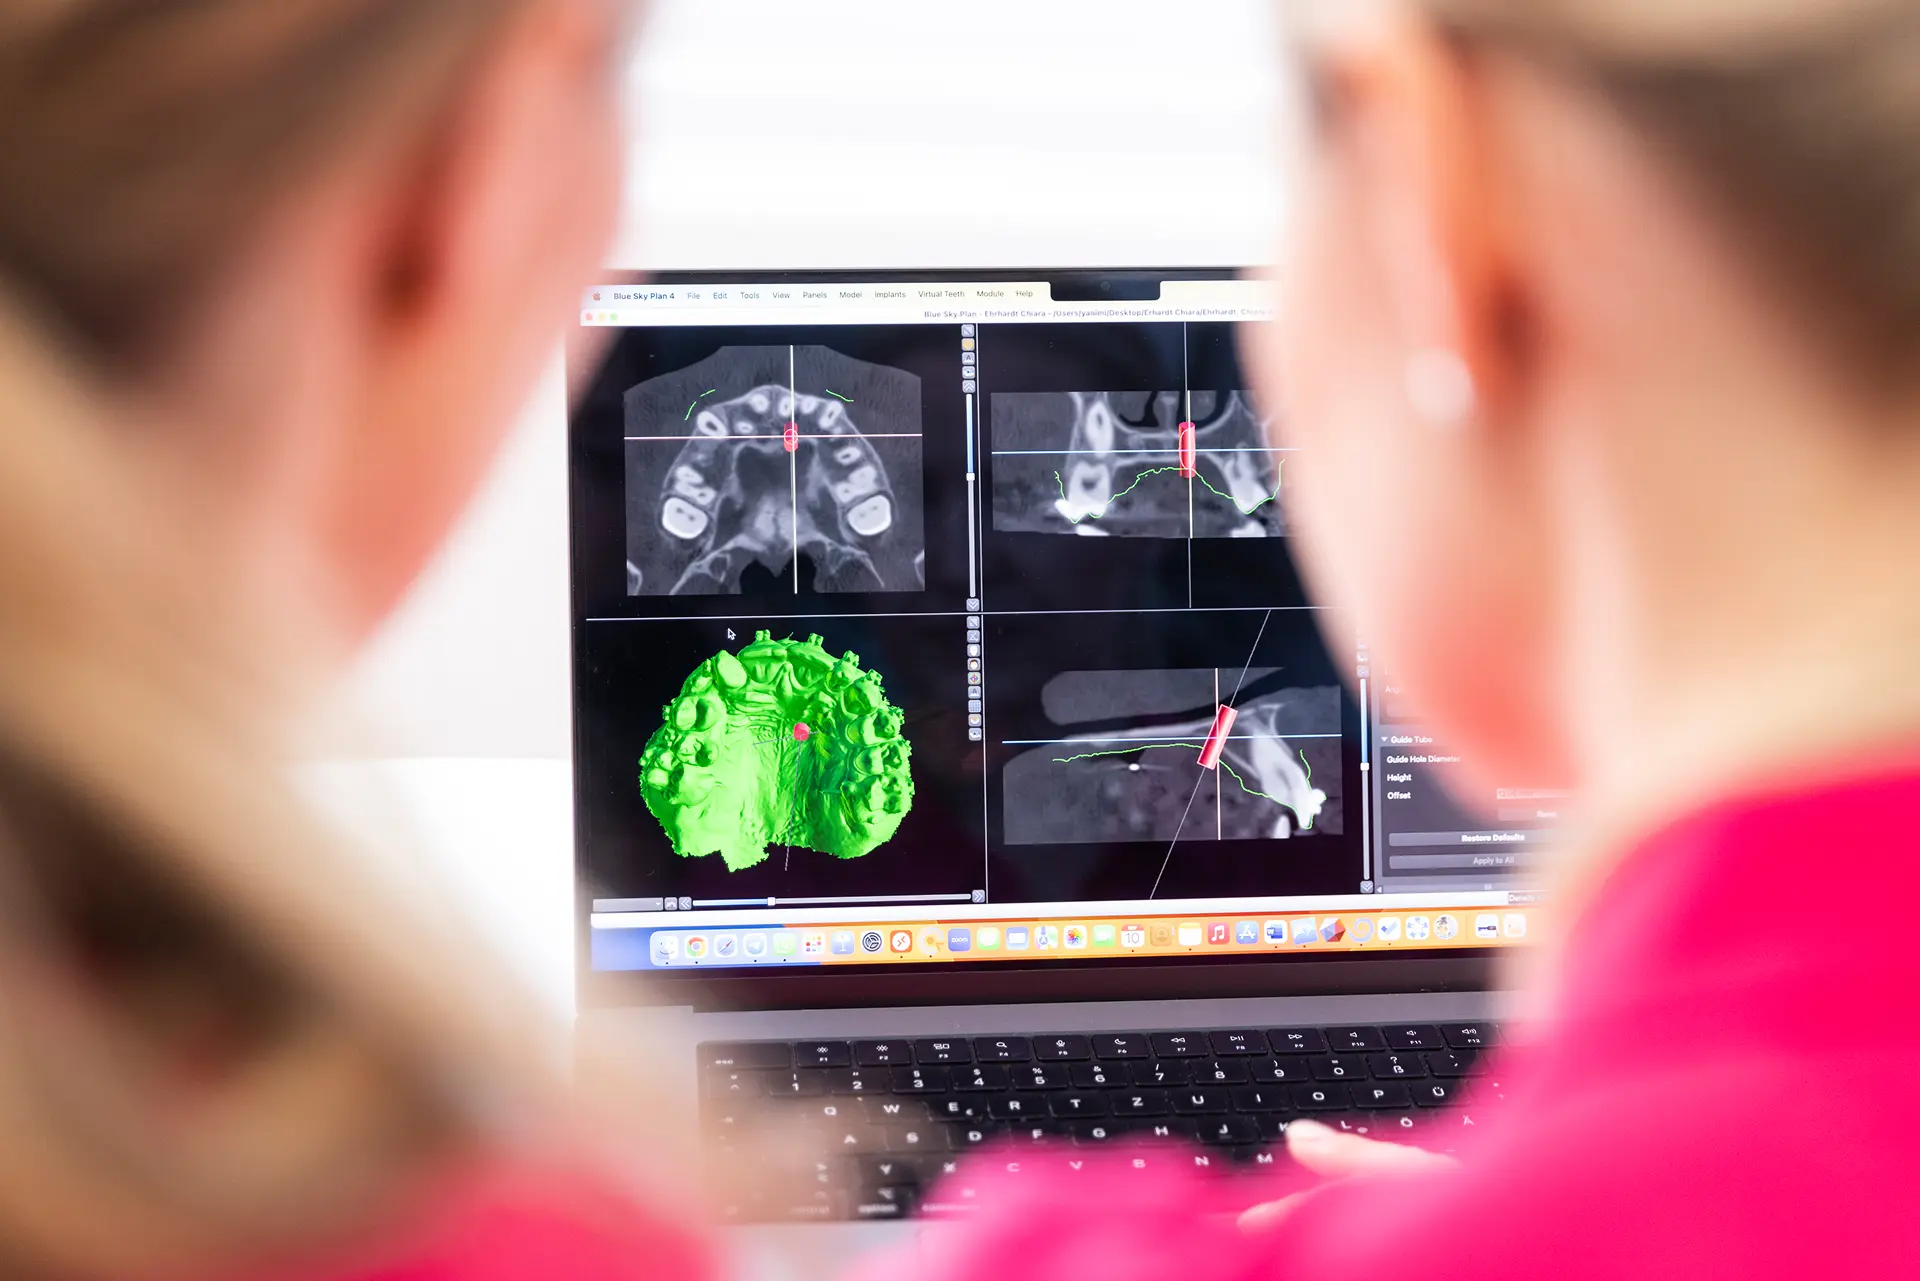
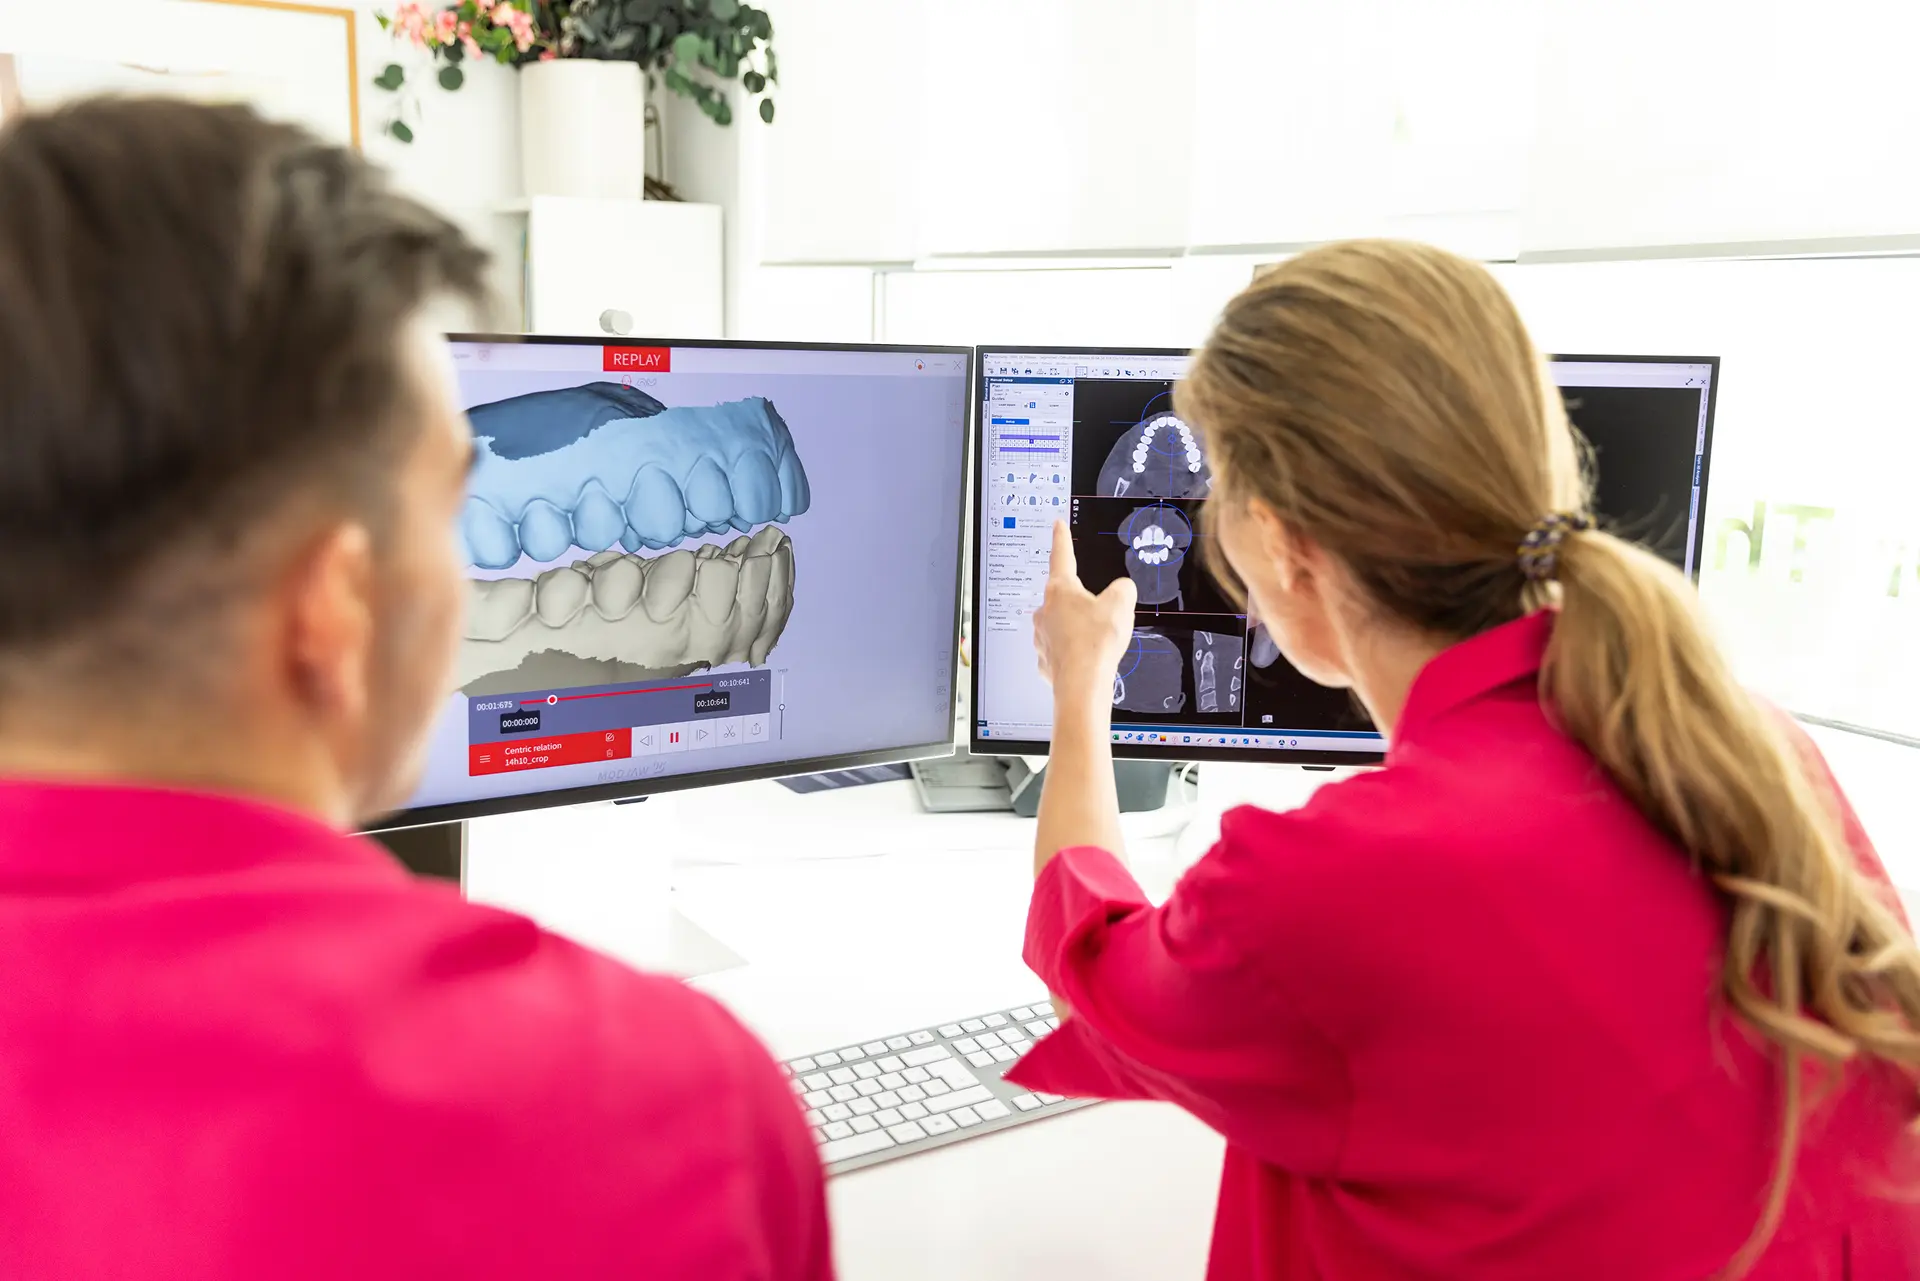
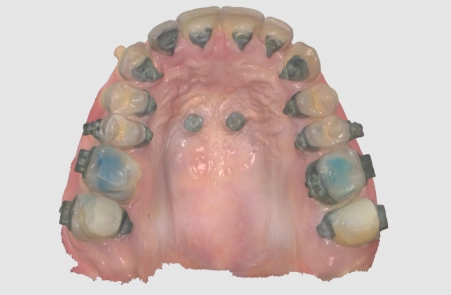
How Pin Positioning Works
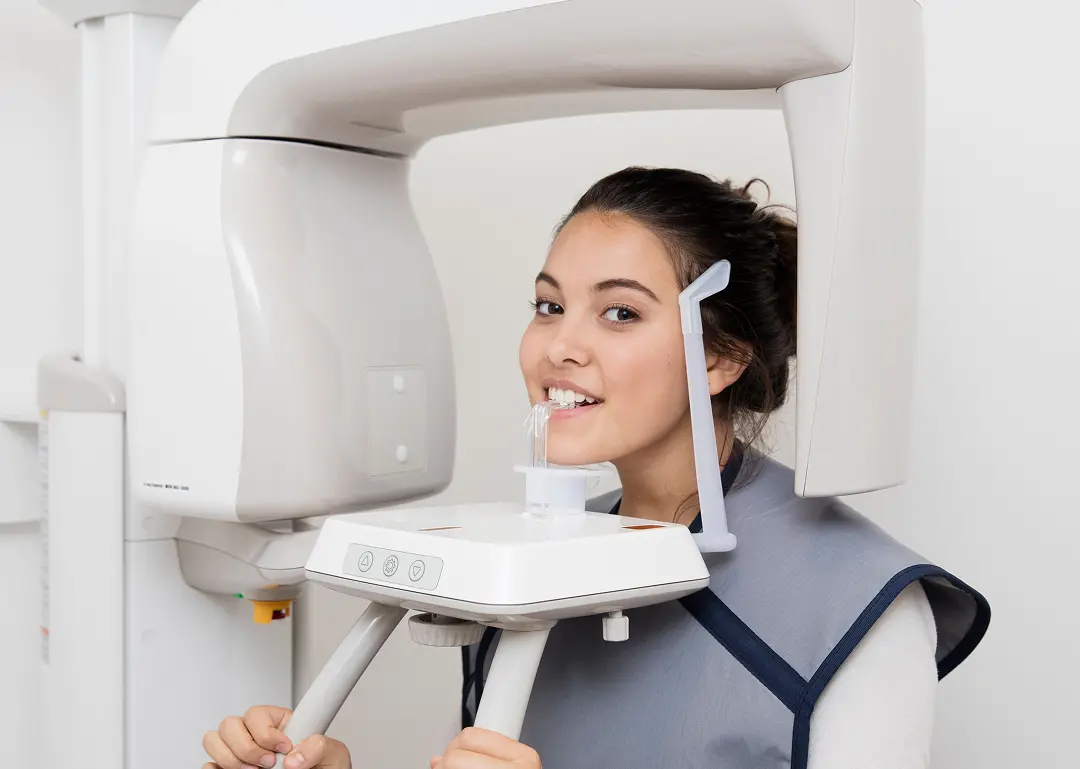
We use CBCT or 3D imaging to map your jaw and identify the ideal placement spot for each pin.
Start Your JourneyScan, CBCT & Overlapping
We assess bone, nerve paths, and roots to define the safest pin zones.

Digital Pin Planning
We use software to plan precise pin placement for optimal force direction, tailored to your anatomy and movement goals.
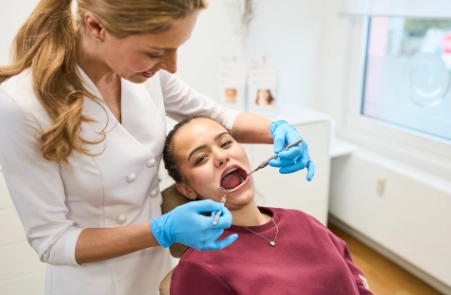
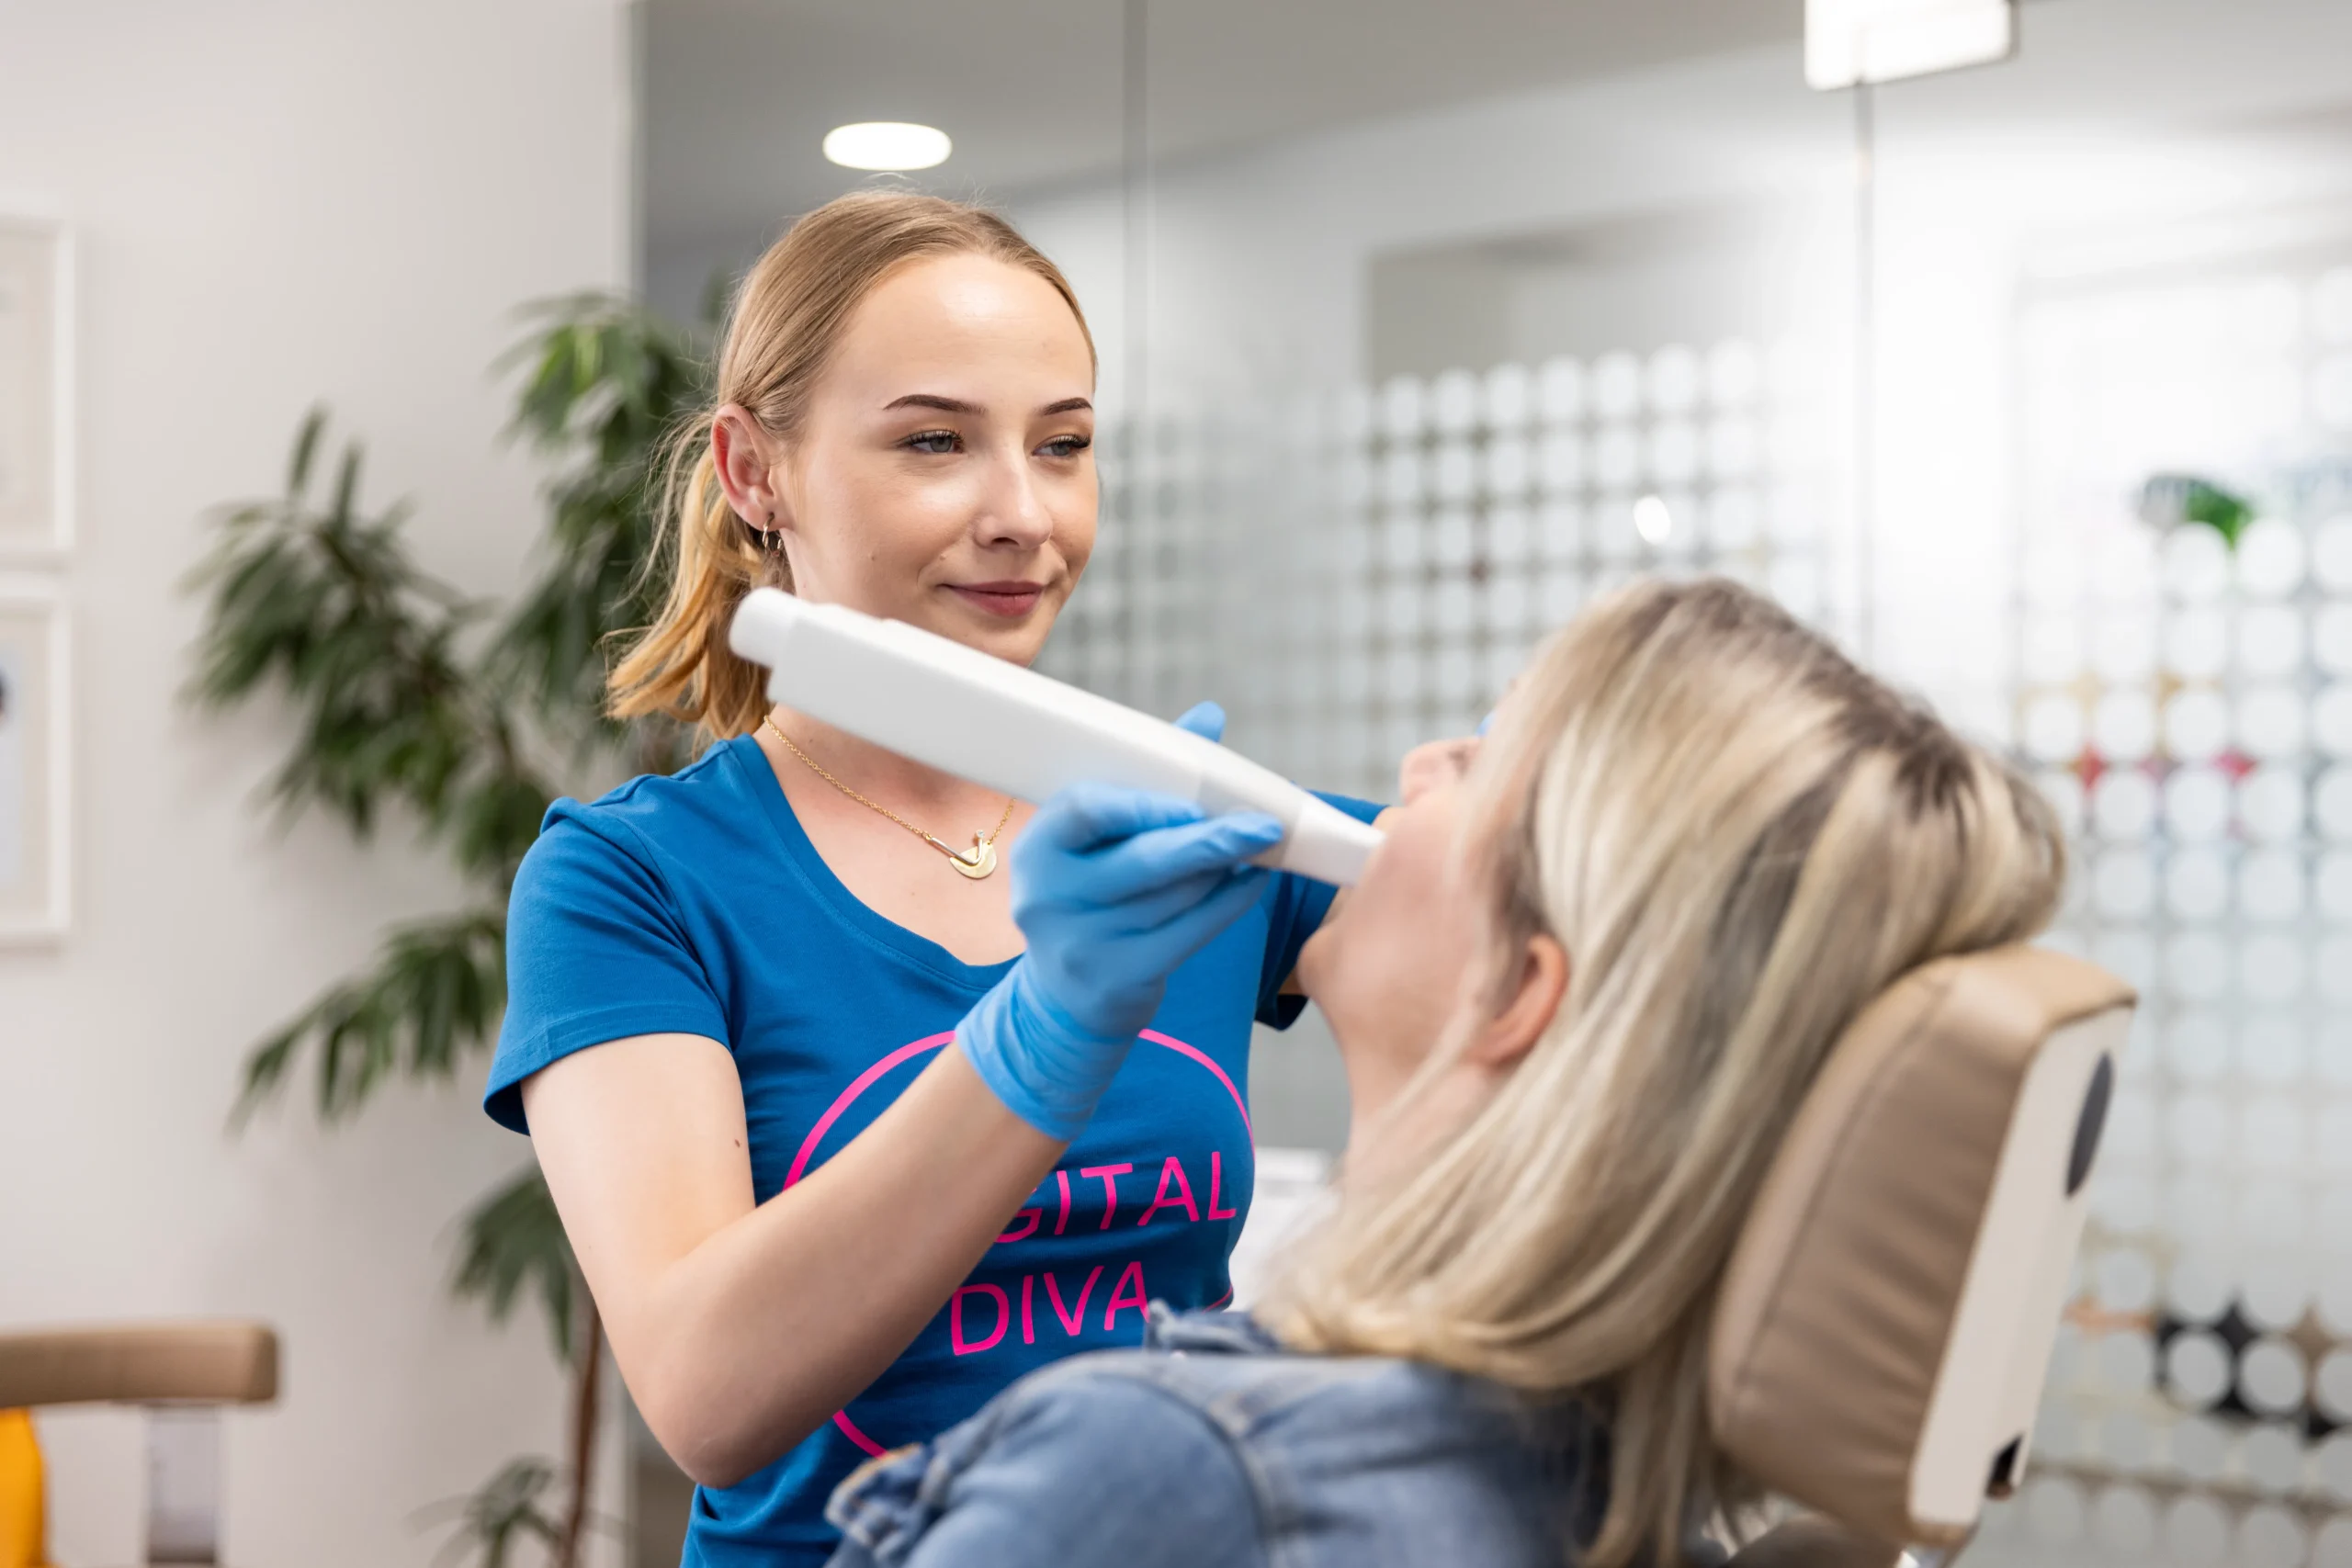
Guided Placement
We apply the plan during treatment for more comfortable and precise placement.

Real-Time Adjustment
We monitor pin stability and make changes if needed during your treatment.
Every Step Counts
From digital scans to handcrafted aligners – we combine precision, care, and experience at every stage of your orthodontic journey.


When Precision Pins Make Sense
We use mini-pins in more advanced cases — like closing gaps, moving individual teeth, or anchoring devices without relying on other teeth.
For Complex Movements
Especially when teeth need to move in opposite directions.
Instead of Headgear
We anchor pins instead of using external tools.
For Non-Compliance Cases
Helpful when elastic wear is inconsistent.
Testimonials
What Patients Say
Small but mighty tools that made a big difference.
"I got used to the pins very quickly. Inserting them wasn't bad at all. It only took about 15 minutes, no longer.”
Duration placing TADs
15 minutesStability
99% stable till end of treatmentHealth Benefits
A safe and gentle treatment outcome is much easier to achieve.

Ready for Smarter Stability?
Discover Your Pin Plan →Frequently Asked Questions
Do mini-pins (TADs) hurt when they’re placed?
Not at all! Placement is quick and usually done without much discomfort. Most patients say it feels like light pressure — and are surprised by how easy it is.
Why do I even need pins? Can’t my braces or aligners do the job?
In some cases, braces or aligners need a bit of extra help to move teeth exactly where they need to go. Pins act like tiny anchors, giving us better control — especially for tricky movements.
Will the pins stay in my mouth the whole treatment?
Not necessarily. They’re usually temporary and only used for part of your treatment. Once we’ve achieved the goal, we remove them quickly and comfortably.
Are mini-implants safe?
Usually, yes. They may still be needed for other tooth movements. After treatment, we remove them quickly and painlessly—it only takes a few minutes.
How do I take care of the pins at home?
It is pretty simple. Gently brush around the mini-implant (TAD) as if it were a natural tooth.
We also recommend using a single-tuft (end-tuft/interspace) brush to massage and clean the gums around the pin. Most patients barely need to change their routine. If you notice gum inflammation, apply a healing gel/ointment to the area several times a day until it resolves (and follow your clinician’s instructions).